Issue #47
Hi there, welcome to the 47th issue of iOS Code Review! I hope you enjoy today's collection 🌞
What happens when you survey 1600+ Mobile DevOps teams? You get 5 key Mobile DevOps benchmarks that can guide mobile teams to high performance. Download our free report and start setting goals for your team based on industry-recognized benchmarks.
Download free report
Use the right assertions
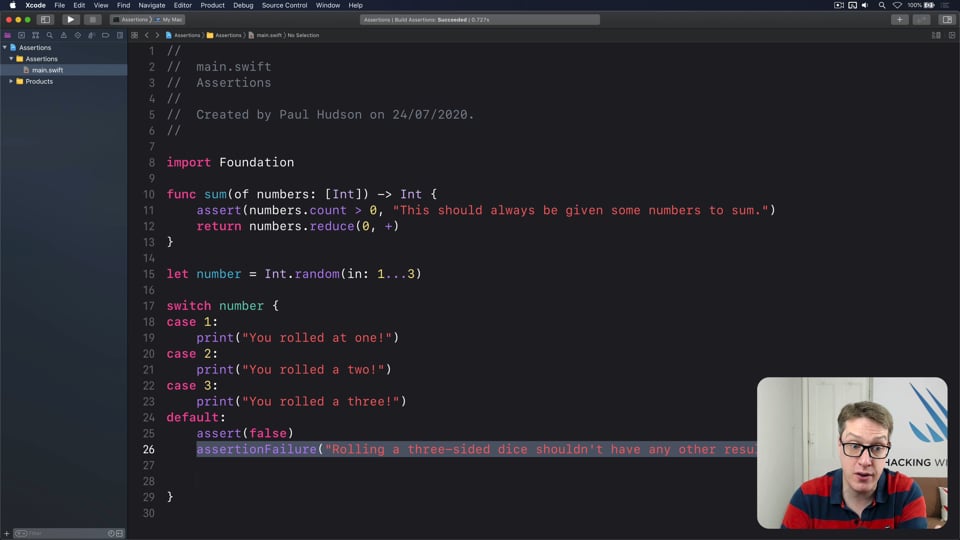
Swift offers a number of ways to assert, i.e. stop the program, when something unexpected happens. Here's the gist of what to use when:
- Use
assert()as often as you want, because it lets you check things are how you expect without having a performance impact in release mode, where the check is ignored - Use the unconditional
assertionFailure()if there’s somewhere your code shouldn’t reach, but it’s not a disaster if it happens. - Use
precondition()only when a check is critical to keep your user safe (app will crash). Same goes forfatalError().
Related, Combine's breakpointOnError() acts as a precondition and will stop (crash) the app in release builds too:
TIL not to use Combine's breakpointOnError() in production builds.
— Marina Gornostaeva ✨ (@hybridcattt) September 14, 2021
It crashes the app when not attached to a debugger 😬
Read more on Hacking with Swift:
Private Set
Don't know who needs to hear this but here's a reminder that private(set) exists 🙂
TIL you can write `public private(set) var` or even `public internal(set) var` in #swiftlang for public get and private/internal set. I used to write a regular _property and a public computed property for that 😅
— Pavel (@rl_pavel) June 19, 2022
Implementing reachability
The users won’t always have a good internet connection, so optimizing your app for bad networking conditions is essential.
Apple directly advises against checking for connection state, and recommends attempting to make a network call either way, and respond to a failure.
When you really need to know the state of the connection, use NWPathMonitor to observe conenctivity. It's available since iOS 12, so there's no need for a third party reachability library anymore.
Antoine covers more details in his new article:
@available attribute
My favorite use for the @available attribute is marking initWithCoder: methods, so they don't come up in autocomplete for the class:
final class MyView: UIView {

  @available(*, unavailable)
  required init?(coder: NSCoder) {
    fatalError("init(coder:) has not been implemented")
  }

  init(customStuff: [Int]) {...}
}
There are other handy uses, such as marking your methods as deprecated - we don't have to provide the iOS version, and can just mark the method as "undesireable" for use:
@available(*, deprecated, message: "Use TheNewImplementation instead. OldImplementation will be deleted soon.")
class OldImplementation { ... }
Here's a short handy list of possible parameters to the @available attribite:

✌️
Alright, that's it for today!
Thank you to Bitrise for sponsoring this issue ❤️
I'm curious if you found one of the tips particularly interesting - let me know by replying to this email!
Member discussion